 Don Watkins
Last week, I installed Podman on my Linux desktop and enjoyed experimenting with containers. I was eager to learn more about Podman and determined to set it up on my M3 MacBook Air. Rather than following a lengthy set of instructions, I opted to install it using Homebrew, which I did easily. However, I soon realized that the steps I successfully followed on my Linux Mint desktop didn’t work on macOS. Podman had been an easy Flatpak install on Linux. My go-to open-source installer on macOS is Homebrew.
Frustrated with the Podman install, I installed Docker, which I’d used before and could get running on macOS. Why would Docker run and not Podman? What was I missing? The missing piece was not reading the excellent documentation on the Podman project site.
Upon reading the documentation, I discovered that my issues stemmed from an incorrect installation. Red Hat recommends installing Podman on macOS using the .dmg file instead of Homebrew. For Apple Silicon devices like mine, the best option is to use the Universal *.dmg file, specifically version v1.29.1, available on their website.
After removing the Homebrew installation, I downloaded and installed it using the image file from the Podman site. Everything just worked flawlessly. Here are the commands I used to install WordPress on the M3:
podman pod create -n wordpress-pod -p 8080:80Once the pod is created and properly mapped to port 8080, the next command sets up the MariaDB database:
podman run -d --pod wordpress-pod --name wp-db \
  -e MYSQL_ROOT_PASSWORD=mysecretpassword \
  -e MYSQL_DATABASE=wordpress \
  -e MYSQL_USER=wpuser \
  -e MYSQL_PASSWORD=mypassword \
  docker.io/library/mariadb:latest
Then I was ready to set up WordPress itself
podman run -d --pod wordpress-pod --name wp-wordpress \
  -e WORDPRESS_DB_HOST=127.0.0.1:3306 \
  -e WORDPRESS_DB_USER=wpuser \
  -e WORDPRESS_DB_PASSWORD=mypassword \
  -e WORDPRESS_DB_NAME=wordpress \
  docker.io/library/wordpress:latest
Once the database and the application is set up, it is time for the first login at http://localhost:8080
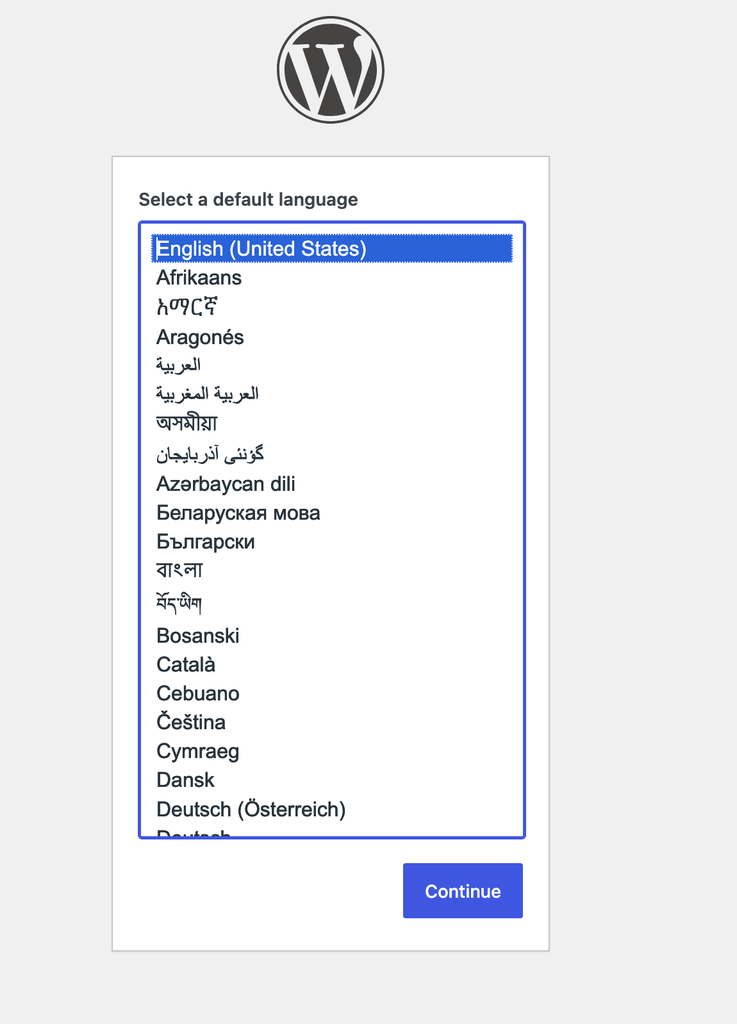
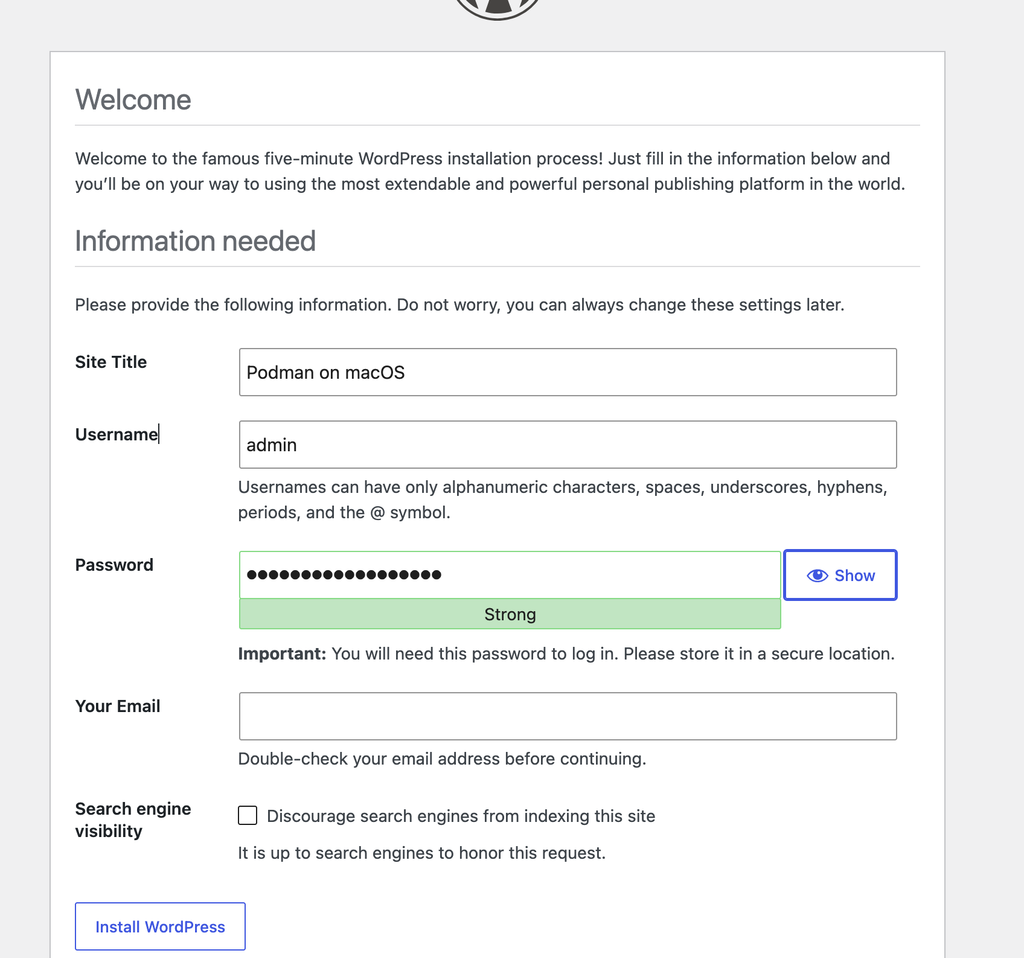
Select the correct language and click ‘Continue’. Next, I set up the administrative user and set a strong password. I use Bitwarden to save my passwords. Give the blog a name and finally add an email address.
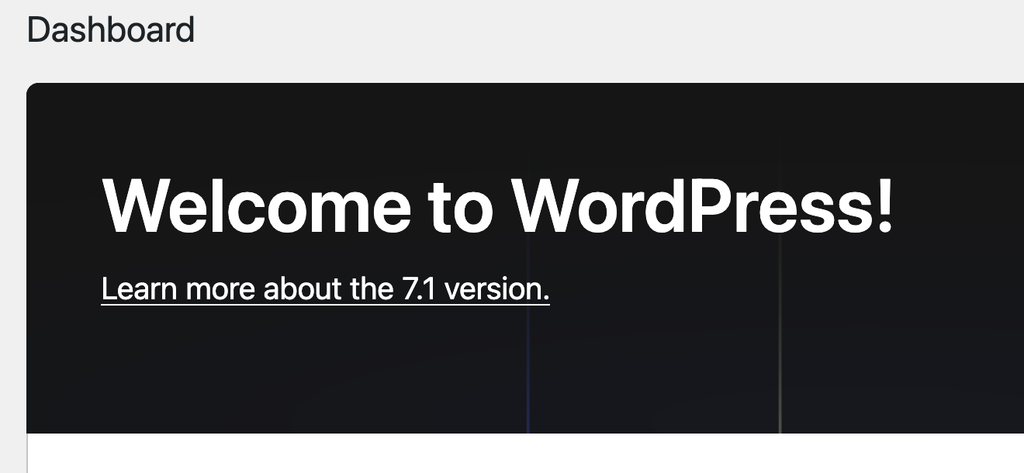
Once the installation is complete, you can start blogging or just exploring WordPress.
Following directions when diving into technical content is like following a recipe while baking a soufflé—ignore a crucial step, and you might just end up with a flat mess instead of a fluffy masterpiece. Whether you’re installing software, setting up databases, or even assembling IKEA furniture (another exercise in patience), a little attention to the instructions can save you from hours of troubleshooting and untold frustration. When it comes to tech, “winging it” is not a strategy; it’s a fast track to panic and a mountain of confusion. There is always something to learn, even when I think I know it all.


 Jim Hall