Unleashing the power of Homebrew on MacOS

Image by: Opensource.com CC-by-SA 4.0
For a techno-nerd like me, acquiring an M2 MacBook Air isn’t just a purchase, it’s an ascension. It’s the techie equivalent of finding a mythical unicorn, except this unicorn runs macOS and has killer battery life. The M2 Air may be my trusty steed, but my heart truly lies in the open-source path. How can I have the best of both worlds? Enter Homebrew – a powerful package manager for MacOS that simplifies installing, updating, and managing open-source software on MacOS. Homebrew is a game-changer for MacOS users, providing a step-by-step guide on installing and harnessing its capabilities.
Why Homebrew?
- Package Management Made Easy: Homebrew is designed to make package management on MacOS a breeze. With a simple command-line interface, users can install, update, and uninstall packages effortlessly. This streamlines the process and ensures that software dependencies are managed efficiently.
- Community-Driven: Homebrew thrives on community contributions, welcoming anyone to add packages, improve code, or suggest enhancements.
- Dependency Management: Managing dependencies manually can be a daunting task, especially when dealing with complex software projects. Homebrew takes care of dependency resolution, ensuring that the required libraries and components are installed automatically, simplifying the overall development and system maintenance process.
Installing Homebrew on MacOS:
Now that we’ve highlighted the advantages of using Homebrew, let’s walk through the installation process on your MacOS system.
Open Terminal:
Launch the Terminal on your MacOS system. You can find it in the Applications > Utilities folder, or use Spotlight search to locate it quickly. Be sure that ‘xcode’ is installed on your MacOS system. Enter the following in your terminal:
% xcode-select --installInstall Homebrew:
Copy and paste the following command into your Terminal and press Enter:
%/bin/bash -c "$(curl -fsSL https://raw.githubusercontent.com/Homebrew/install/HEAD/install.sh)"This command initiates the Homebrew installation process.
Follow On-Screen Prompts:
The installation script will guide you through the process. Follow the on-screen prompts, and you may be required to enter your system password to proceed with the installation.
Verify Installation:
Once the installation is complete, you can verify it by running the following command:
% brew --versionWith Homebrew successfully installed, you can now leverage its capabilities to manage and install packages. Here are a few basic commands to get you started:
% xcode-select --install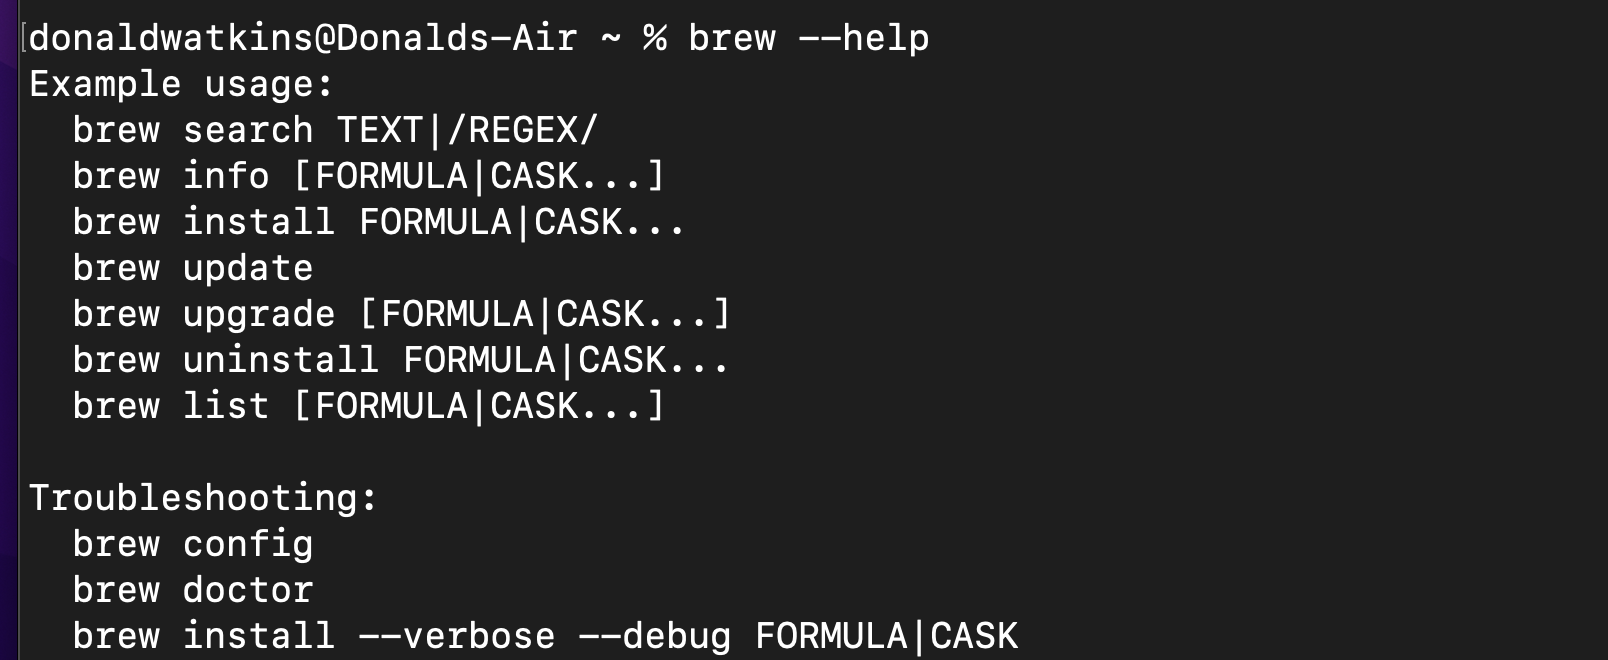
Search for packages available on Homebrew with:
% brew search inkscapeInstall packages easily with:
% brew install inkscapeList the packages on your system with:
% brew list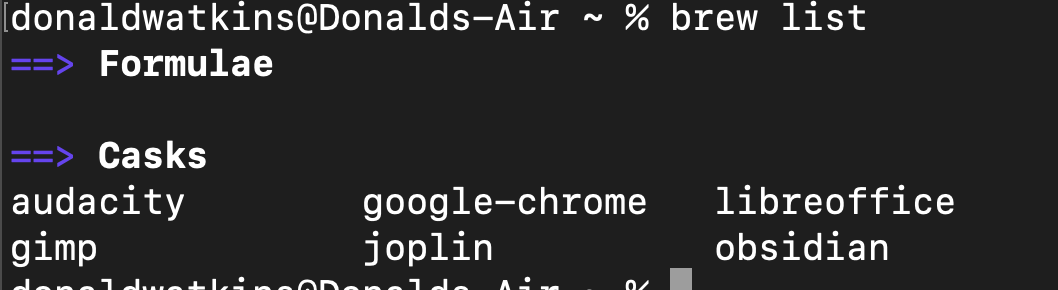
It’s easy to update Homebrew with the following command:
% brew updateThis updates Homebrew itself but you’ll probably want to upgrade the open-source packages you’ve installed on your MacOS system, and Homebrew provides an easy way to do that by entering the following command:
% brew upgrade From here, the world is your oyster. Search for packages, install them with a single command, list your software inventory, and update everything effortlessly. Homebrew transforms your M2 Air from a polished Apple device into a versatile open-source powerhouse, letting you tap into the boundless potential of this vibrant community.
So, why settle for one world when you can embrace both? With Homebrew at your side, your M2 MacBook Air bridges the walled garden and the wild plains of open source. The future is bright, techno nerds and the possibilities are endless. Let’s explore, create, and innovate one command at a time.